The Story
The first time I attempted to make donuts at home, it was a disaster of hot oil, burnt dough, and a very messy kitchen. I swore I’d never do it again until I discovered this Easy Baked Donuts Recipe. It felt like a revelation—no heavy pot of grease, no lingering oil smell, just the sweet aroma of vanilla and yeast filling the air. There is something incredibly satisfying about pulling a tray of puffy, golden rings out of the oven. It feels like a huge victory when you take that first warm bite. This recipe isn’t just about making breakfast; it’s about creating a cozy morning ritual that makes everyone smile. Trust me, once you try these, you’ll never look at a deep fryer the same way again. It’s pure magic without the mess.
Why You’ll Love This Baked Donut Method
Texture: Fluffy vs. Fried
Many people worry that baked donuts will just taste like dry bread, but that’s a myth. While fried donuts rely on oil for their distinct crust, these baked beauties use a rich, buttery dough to stay incredibly soft. The texture is more pillow-like and tender, similar to a high-quality brioche. You won’t get that heavy, greasy mouthfeel, which means you can easily enjoy more than one. They are light, airy, and melt-in-your-mouth delicious, proving that the oven can produce a spectacular result that rivals the fryer.
The Healthier Homemade Choice
Let’s be honest: skipping the deep fryer makes these a smart choice. By baking instead of frying, you eliminate the heavy absorption of oil, significantly reducing the fat content. This means you can indulge in a sweet treat without that heavy, sluggish feeling afterwards. It’s a proven way to enjoy your favorite comfort food with a little less guilt. Plus, because they aren’t soaked in grease, the true flavors of the vanilla and butter shine through much more clearly. It’s a win-win for your taste buds and your body.
Mastering the Perfect Donut Dough
Yeast Activation Secrets
Yeast can be intimidating, but it’s actually quite simple to handle if you follow one rule: temperature matters. You must ensure your milk mixture is lukewarm, not hot. If it burns your finger, it will kill the yeast, and your dough will be a flat fail. Aim for a temperature that feels like a warm bath (around 110°F/43°C). When you mix the wet ingredients into the dry, the yeast wakes up and starts feeding on the sugar. You usually don’t need to bloom instant yeast separately, but ensuring the liquid is warm gives it a powerful head start. This step is the heart of the recipe, ensuring your donuts rise tall and proud.
The Critical First Rise
Once your dough is kneaded to a smooth, elastic state, it needs time to rest. This first rise is non-negotiable. You should place the dough in a lightly oiled bowl, cover it tightly, and let it sit in a warm, draft-free spot. During this 1.5 to 2-hour window, the yeast ferments, creating thousands of tiny air bubbles. This is what gives the donut its amazing lift and airy structure. If you rush this step, your donuts will be dense and heavy. Patience here is your best tool. Watching that dough double in size is a rewarding sign that you are on the right track to baking success.

Easy Baked Donuts Recipe — Doughnuts Recipe Baked (No Frying!)
Materials
- For the Donut Dough
- 3 ¼ cups 16 ¼ oz /456 g all-purpose flour
- ¼ cup 2 oz/58 g granulated sugar
- 2 ¼ teaspoons instant dried yeast
- 2 teaspoons salt
- 1 cup 8 fl oz/240 ml whole milk
- ⅓ cup 2 ½ fl oz/75 ml water
- 4 tablespoons 2 oz/57 g melted butter
- 1 tablespoon vanilla extract
- 2 tablespoons 1 oz/28 g melted butter, for brushing
- For the Donut Glaze
- 1 batch of your favorite donut glaze vanilla, chocolate, maple… you name it!
- For Pumpkin Pie Spice Donut Holes
- ½ cup 4 oz/115 g granulated sugar
- 2 teaspoons pumpkin pie spice
- ⅛ teaspoon salt
- 4 tablespoons 2 oz/58 g melted butter
- For Stuffed Donuts
- 1 cup 8 oz/225 g Nutella, jam, or pastry cream
Instructions
- Let’s Make Some Magic
- Step 1: Prepare the Dough
- Line a large baking sheet with parchment paper and set it aside.
- In your stand mixer bowl (fitted with a dough hook), whisk together the flour, sugar, yeast, and salt — the dry dream team.
- In a microwave-safe measuring cup, warm up the milk and water until just lukewarm. Stir in the melted butter and vanilla — it’ll smell divine already.
- With the mixer running on low, slowly pour in the milk mixture. Let it knead gently for about 2 minutes to wake up that yeast. Scrape down the sides so nothing gets left behind.
- Crank the mixer speed to medium and let it knead for another 6–8 minutes until the dough becomes soft, shiny, and slightly sticky. Don’t panic if it feels a bit loose — that’s exactly what we want for fluffy donuts!
- Lightly oil a clean bowl, pop the dough in, and give it a quick turn to coat it in oil. Cover the bowl tightly with plastic wrap and a kitchen towel. Let it rest at room temperature for 1½ to 2 hours, or until it doubles in size like a proud little pillow of dough.
- Step 2: Shape the Donuts
- Once the dough has risen, gently punch it down (the most satisfying step). On a lightly floured surface, roll it out to about ½ inch thick.
- Grab a 3-inch round cutter (or a sturdy drinking glass) to cut out your donuts. For the centers, use a smaller cutter or piping nozzle — about 1¼ inches works perfectly.
- If you’re planning to fill your donuts later, skip the center hole so you can stuff them later. Gather any dough scraps, reroll, and cut again — waste not, want not!
- Arrange your donuts on the prepared baking sheet, cover them loosely with plastic wrap, and let them rise again for 20–30 minutes. They should look puffy and slightly jiggly when ready to bake.
- Step 3: Bake Those Beauties
- Preheat your oven to 350°F (180°C).
- Right before baking, brush the tops of your donuts with melted butter (don’t skip this — it helps with color and texture). Sprinkle about 2 tablespoons of water onto the tray to create a little steam inside the oven.
- Bake for 12–14 minutes, just until they’re barely golden. You want them to look kissed by the oven, not tanned — overbaking will dry them out.
- Step 4: Glaze Time!
- As soon as the donuts come out of the oven (while they’re still warm and fluffy), dip them one by one into your glaze. Let the extra drip off, then place them on a wire rack.
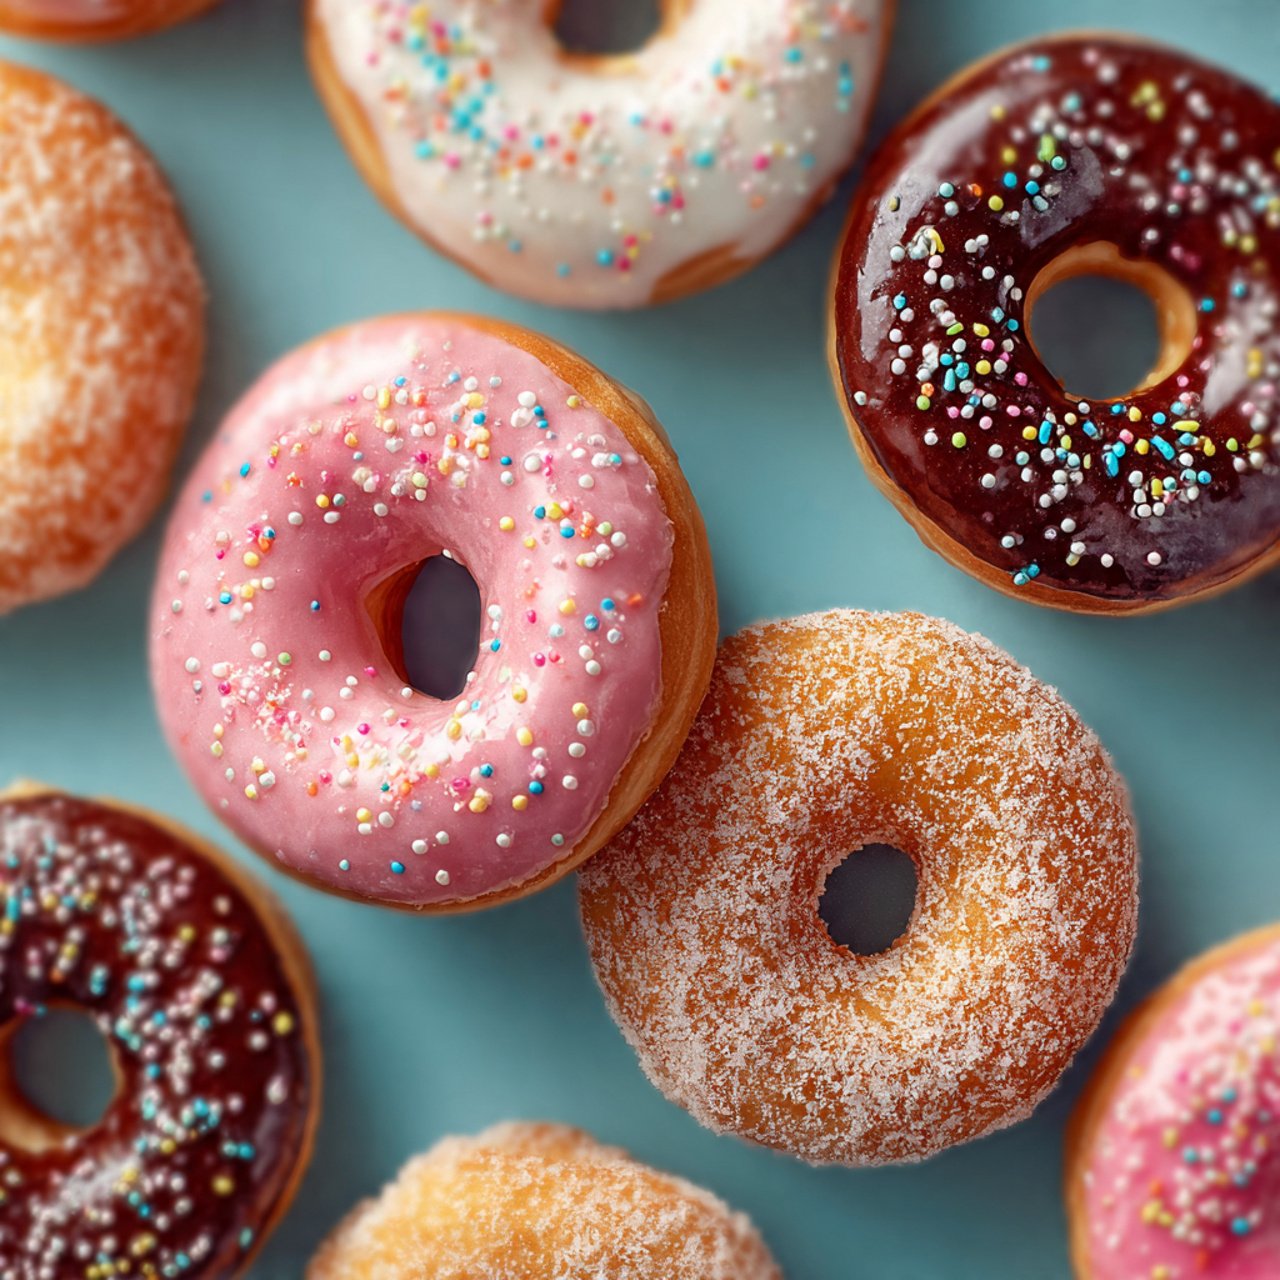
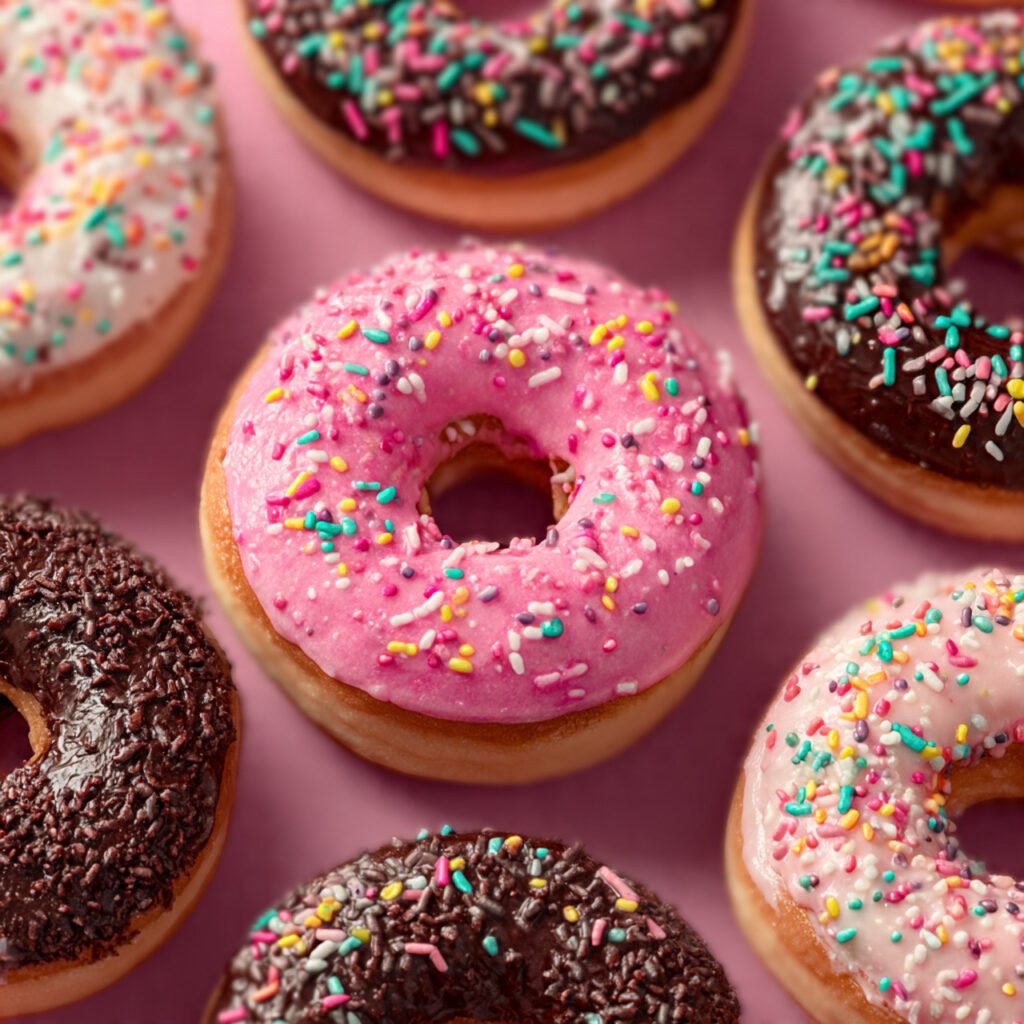
- Add your favorite toppings — sprinkles, nuts, or even edible glitter if you’re feeling fancy. The glaze will set quickly, giving you that glossy bakery-style finish.
- Pro tip: Eat them warm. Like, right now. Trust me, they’re heavenly.
- 🍂 Pumpkin Pie Spice Donut Holes
- Don’t throw away those center cutouts! These little donut holes are the unsung heroes of this recipe.
- Mix together sugar, pumpkin pie spice, and a pinch of salt in a small bowl. Dip each warm donut hole into melted butter, then roll it in the spice mixture until perfectly coated.
- Set on a rack to cool (if you can wait that long), or serve them warm with chocolate sauce for dipping. These are best eaten the same day — if any survive that long.
- 🍫 Stuffed Donuts (Because We Can)
- To make filled donuts, skip the donut hole step when cutting. After baking and cooling slightly, use a sharp knife to make a small hole in the bottom or side of each donut.
- Fill a piping bag with your chosen filling — Nutella, fruit jam, or pastry cream all work beautifully. Pipe until you see the donut puff up slightly (that’s your cue it’s full).
- For a finishing touch, swirl a bit of the filling on top as a “hint” of what’s inside. Serve and enjoy — preferably with coffee and a smug grin.
Notes
Don’t rush the rise. Letting the dough properly proof is what gives these donuts that soft, airy bite. Keep it warm: If your kitchen is chilly, pop the dough (covered) in your oven with just the light on — instant proofing chamber! Go easy on the bake time. These donuts bake fast, so watch them like a hawk. A minute too long can mean dry dough. Fresh is best. Baked donuts taste their absolute best the same day they’re made. 🍩 Variations to Try
Feeling creative? Here are some fun spins on this base recipe: Chocolate Lovers’ Dream: Add 2 tablespoons of cocoa powder to the dough. Glaze with chocolate and top with mini chips. Maple Glaze Magic: Swap vanilla in the glaze for maple syrup — tastes just like Baked Maple Bars! Cinnamon Sugar Classic: Skip the glaze and toss the warm donuts in cinnamon-sugar instead. Berry Bliss: Pipe in raspberry or strawberry jam for that nostalgic jelly donut vibe. Nutty Delight: Dip the tops in caramel and sprinkle with chopped pecans or hazelnuts. 🍽️ Best Way to Serve
Serve your donuts slightly warm with a cup of coffee, hot chocolate, or even cold milk (because nostalgia). They make great Fall Breakfast Baked Goods, weekend brunch treats, or cozy desserts after dinner. They’re also fantastic as part of a DIY “Doughnut Bars” setup for parties — let guests glaze and decorate their own! 🧊 Storage and Make-Ahead Tips
To make ahead: You can prep the dough a day early. Let it rise once, then refrigerate overnight. Bring to room temp before shaping and baking. Storage: Keep leftover donuts in an airtight container for up to 2 days at room temperature. Freezing: You can freeze unglazed donuts — just reheat and glaze fresh. If your glaze softens after storage, give the donuts a quick re-glaze before serving. Fresh shine, no problem.
Shaping and Baking for Golden Results
Cutting Out the Perfect Donut Shape
You don’t need fancy equipment to get that classic shape. A standard 3-inch round cutter works perfectly for the outer edge, and a smaller 1-inch cutter (or even a large piping tip) handles the donut hole. If you don’t have cutters, a drinking glass and a bottle cap are clever substitutes. Press down firmly and twist slightly to get a clean cut. Don’t discard the holes! These little scraps are gold; you can bake them separately as donut holes. If you plan to make filled donuts, simply skip the center hole entirely. This versatility makes the recipe a bargain—two treats in one batch. Just remember to handle the dough gently to keep it airy and light.
The Oven Steam Trick
Here is a secret tip that makes a massive difference: steam. Before you close the oven door, brush the unbaked donuts with melted butter and sprinkle a little water onto the baking tray (avoiding the donuts themselves). This creates a burst of steam that keeps the exterior soft while the inside expands. It mimics the environment of a professional bakery oven. Bake them at 350°F (175°C) for just 12–14 minutes. You must watch them closely; you want them barely golden, not brown. Overbaking is the enemy of a soft donut. When done correctly, they will be pale but fully set, promising a tender bite that melts in your mouth. This simple hack ensures your baked donuts never taste dry.
Glazing, Filling, and Flavor Variations
Achieving the Bakery-Style Glaze
For that professional, glossy finish, timing is everything. You should dip the donuts while they are still warm, but not piping hot. A simple mix of powdered sugar, milk, and vanilla creates a beautiful sheer glaze that sets into a delicate crackly shell. If you want a thicker, opaque frosting like the ones in donut shops, simply use less milk. Dip the donut face down into the bowl, twist it slightly, and lift. Let the excess drip off before placing it on a wire rack. This technique ensures an even coat without the mess. For a decadent twist, swap the vanilla for maple extract or add cocoa powder. The result is a sticky, sweet layer that makes every bite irresistible.
Creative Fillings and Toppings
If you want to take it a step further, filled donuts are a huge hit. Skip the hole-punching step before baking to create a solid round cushion. Once baked and cooled, use a paring knife to poke a small hole in the side. Pipe in strawberry jam, Nutella, or vanilla custard until the donut feels heavy and plump. It’s a surprise inside that feels incredibly luxurious. For toppings, don’t stop at sprinkles. Crushed nuts, toasted coconut, or even a dusting of cinnamon sugar can elevate the flavor profile. These small additions turn a simple homemade snack into a gourmet treat that looks and tastes like a million bucks.
Frequently Asked Questions
Can I make the dough ahead of time?
Yes, absolutely! You can prepare the dough, let it rise once, and then place it in the refrigerator overnight. This actually develops more flavor. Just let it come to room temperature and rise again before shaping and baking the next day.
Why are my baked donuts tough?
Tough donuts usually result from two things: overmixing the dough or overbaking. Be gentle when kneading and shaping. Also, watch the oven closely—take them out as soon as they are set and barely golden. They continue to cook slightly as they cool.
Can I freeze baked donuts?
Yes, these freeze very well. It is best to freeze them unglazed. Wrap them tightly in plastic wrap and store in a freezer bag for up to 2 months. Thaw at room temperature and glaze them fresh for the best taste.
Do I need a donut pan for this recipe?
No, you do not! This recipe is designed for hand-cut yeast donuts, so you bake them on a regular baking sheet. If you want to use a donut pan, you would typically need a cake-batter style recipe, which is different from this yeast-based one.
Conclusion
This Easy Baked Donuts Recipe proves that you don’t need a deep fryer to enjoy fluffy, bakery-quality treats at home. By trading hot oil for a warm oven, you get a lighter, healthier, and easier-to-make donut that is just as satisfying. The process is simple enough for beginners but yields results that look and taste professional. From the soft, buttery dough to the sweet, glossy glaze, every element works together to create a memorable bite. So, grab your apron, warm up that milk, and get ready to bake a batch of pure happiness. Your kitchen will smell divine, and your taste buds will thank you for this wonderful homemade delight.